Description
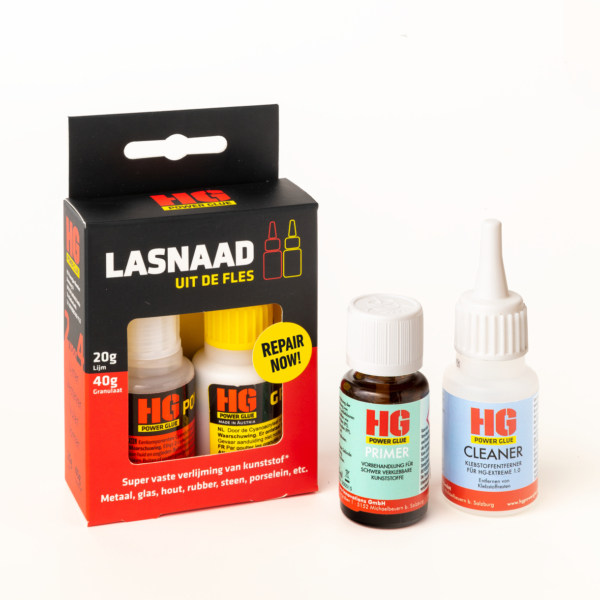
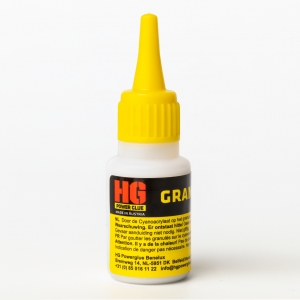
Contents: 1 x industrial adhesive 20g, 1 x granulate 40g, 1 x HG-Primer 15g, 1 x HG-Cleaner 20g
INSTRUCTIONS FOR THE HG PLASTIC REPAIR SET II
1. CLEANING THE SURFACES WITH TH EHG-CLEANER
- testing suitablity
Before applying the highly concentrated cleaner, the materials must be tested for suitability. For this, it is best to test a small amount on the surface and immediately remove it in the event of an undesirable reaction.
- optional: remove glue remains
In case there are old glue residues to be removed on the fracture, a few drops of cleaner must be applied to the old remains. The cleaner must absorb for a few minutes and liquefy the remains. These can then easily be removed with a clean cloth.
- basis cleaning
To clean the fracture, a few drops of cleaner are applied to the parts to be cleaned (at the point where connecting is glued). To obtain a strong bond, it is essential to use a clean cloth and to completely remove the cleaner and dirt. Each contamination deteriorates the stability of the adhesive joint.
The “Lasnaad uit de fles” (weld seam from the bottle) can only develop its full adhesive strength if the parts to be repaired are prepared accordingly. Ideally, the surface is roughened with sandpaper or a wire brush and all dirt is cleaned. There must be no dust, rust, grease or glue residues and the adhesive surfaces must be completely dry. Only then can high adhesion values be achieved.
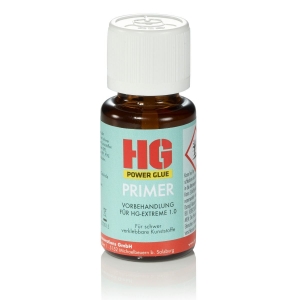
2. APPLICATION OF THE HG-PRIMER FOR PLASTICS DIFFICULT TO BOND
There are many types of plastic on the market that are difficult to bond. This is due to the wax layer of these plastics. These include eg PE or PP (used extensively in children’s toys, food containers, etc.) If you want to glue these plastics you will have to use the HG-Primer
- roughen the surfaces and apply primer
To allow the liquid of the primer to penetrate deeply, it is important to roughen the surface to be bonded. Then a fine primer layer is applied directly to the fracture site with the help of the brush. The fluid then chemically changes the surface structure.
After only a few seconds, the HG primer has completed its work and has evaporated. Now the actual gluing process can be carried out as usual. It should be taken into account that after the primer is used the actual final strength of the bonding is only reached after 24 hours.
3. SCATTER THE GRANULATE
4. APPLY INDUSTRIAL GLUE
Now the industrial adhesive HG-Extreme 1.0 of the second bottle is carefully dripped onto the granulate until all grains are saturated with glue. As soon as the two components come into contact with each other, a chemical reaction occurs and heat is generated. We always recommend to provide both sides of the break with a weld for maximum durability. The more often the glue process is repeated, the more stable the connection becomes.
5. CURE THE CONNECTION

